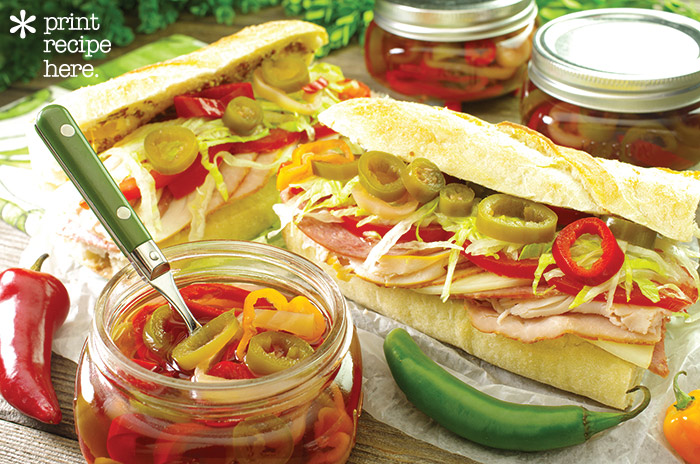
Pickled Hot Pepper Rings
Makes 3 (half-pint/250 ml) jars
I am married to a man who can’t handle anything spicier than a green pepper. For a girl who likes her food to have a certain level of va-va-voom, this means that I have to do a judicious amount of doctoring at the table to satisfy my taste buds. To that end, I keep bottles of sriracha and sweet chili sauce on the fridge door and, every fall, can up a bunch of pickled hot peppers. I keep the brine unseasoned so they work just as well on sandwiches as they do chopped and stirred into homemade salsa. The other nice thing about this recipe is that comes together in about half an hour. If you’re exhausted by your garden and just want to be done with your pepper plants, this approach is a really good answer.
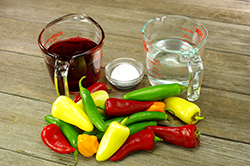
1-1/2 cups/360 ml red wine vinegar
1-1/2 cups/360 ml filtered water
2 tablespoons pickling salt
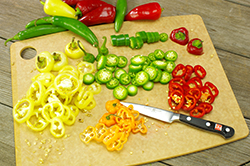
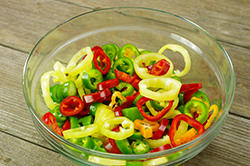
1 pound/460 ml mild hot peppers
(like banana, Mirasol, or Anaheim)
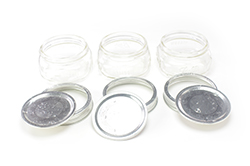
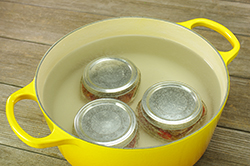
Prepare a small boiling water bath and 3 half-pint/250 ml jars according to the process [see below]. Place 3 lids in a small saucepan of water and bring to the gentle simmer.
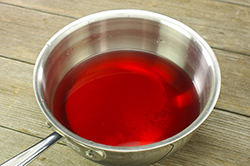
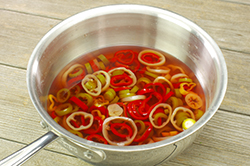
Combine the vinegar, water, and salt in a separate saucepan and bring to a boil. When the brine is boiling, add the pepper rings and stir to submerge. As soon as the brine returns to a boil, remove the pot from the heat.
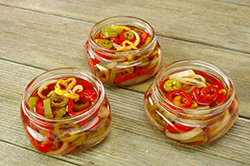
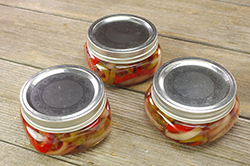
Funnel the peppers into the prepared jars and top with the brine, leaving 1/2-inch/12mm of headspace. Tap the jars gently to remove any air bubbles. Add more liquid to return the headspace to 1/2-inch/12 mm, if necessary. Wipe the rims, apply the lids and rings, and process the jars in a boiling water bath for 10 minutes [see below].
The pickled pepper rings are ready to eat within 48 hours.
Note: Save any pickling liquid leftover from this recipe and use it in vinaigrettes or to season sandwiches. The hot peppers will have given it some of their flavor and so it will be just slightly spicy.
How to Process
1. If you’re starting with brand-new jars, remove their lids and rings. If you’re using older jars, check the rims to make sure there are no chips or cracks.
2. Put the rack into the canning pot and put the jars on top.
3. Fill the pot (and jars) with water to cover and bring to a boil. I have found that this is the very easiest way to heat up the jars in preparation for canning because you’re going to have to heat up the canning pot anyway. Why not use that energy to heat up the jars as well?
4. Put the lids in a small saucepan, cover with water, and bring them to the barest simmer on the back of the stove.
5. While the canning pot comes to a boil, prepare your product.
6. When your recipe is complete, remove the jars from the canning pot (pouring the water back into the pot as you remove the jars) and set them on a clean towel on the counter. There’s no need to invert them; the jars will be so hot that any remaining water will rapidly evaporate. Remove the lids from the saucepan with tongs or a magnetic lid wand and lay them out on the clean towel.
7. Carefully fill the jars with your product. Depending on the recipe, you’ll need to leave between 1/4 and 1/2 inch/ 6 and 12 mm of headspace (that’s the room between the surface of the product and the top of the jar). Jams and jellies typically get 1/4 inch/6 mm, while thicker products and pickles get 1/2 inch/12 mm.
8. Wipe the rims of the jar with a clean, damp paper towel or kitchen towel. If the product you’re working with is very sticky, you can dip the edge of the cloth in distilled white vinegar for a bit of a cleaning boost.
9. Apply the lids and screw the bands on the jars to hold the lids down during processing. Tighten the bands with the tips of your fingers to ensure that they aren’t overly tight. This is known as “fingertip tight.”
10. Carefully lower the filled jars into the canning pot. You may need to remove some water as you put the jars in the pot, to keep it from overflowing. A heat-resistant measuring cup is the best tool for this job. If you’re canning in an asparagus or 4th burner pot, you will be stacking your jars. Take care as you do this.
11. Once the pot has returned to a rolling boil, start your timer. The length of the processing time will vary from recipe to recipe.
12. When your timer goes off, promptly remove the jars from the water bath. Gently place them back on the towel-lined countertop and let them cool.
13. The jar lids should begin to ping soon after they’ve been removed from the pot. The pinging is the sound of the seals forming; the center of the lids will become concave as the vacuum seal takes hold.
14. After the jars have cooled for 24 hours, remove the bands and check the seals. You do this by grasping the jar by the edges of the lid and gently lifting it an inch /2.5 cm or two off the countertop. The lid should hold fast.
15. Once you’ve determined that your seals are good, you can store your jars in a cool, dark place (with the rings off, please) for up to a year. Any jars with the bad seals can still be used – just store them in the refrigerator and use within 2 weeks. |