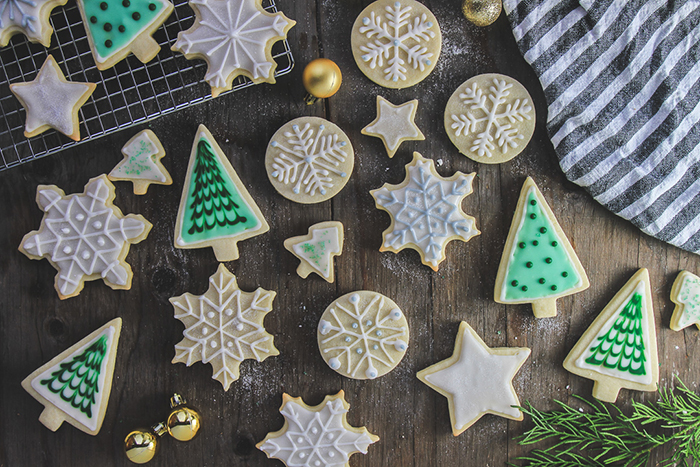
Sugar Cookies & Icing
Makes about 50-60 cut-out cookies
(depending on size of cut-out)
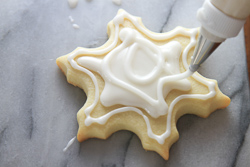
Unleash your creativity with some easy, edible art. Rolled sugar cookies, iced and embellished, create plenty of visual appeal on the holiday cookie plate, or as gifts for friends.
Sugar Cookie Ingredients:
1-1/2 cups (3 sticks) unsalted butter, room temperature
1-1/2 cups sugar
2 eggs
3 teaspoons vanilla
5-1/2 cups all-purpose flour
1 teaspoon salt
Cookie Directions:
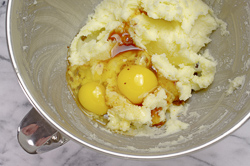
1. In a large bowl or the bowl of a stand mixer, combine the butter and sugar together and mix until the consistency is light and fluffy. Add the eggs and vanilla extract; mix until well blended.
2. Combine the flour and salt in a medium bowl; stir to mix evenly. Add, one-third at a time, to the butter-sugar mixture on low speed until thoroughly mixed.
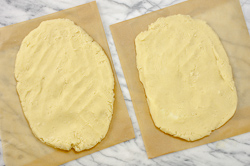
3. Gather the dough into a rough ball, and divide in half. Flatten each half into an oval shape that’s about 1/2-inch thick. (The oval shape will help in the next step of rolling.) Wrap each oval well, and chill for an hour or up to 3 days. The dough may also be frozen at this stage for later use.
4. Remove a dough disk from the refrigerator and allow to soften slightly at room temperature until it is rolls out easily to a 1/4-inch thickness using a pastry mat or piece of parchment paper as a rolling surface. Dust with flour as needed, but sparingly so. Re-chill the rolled out dough for 15-20 minutes. Chilling will help cut and retain the detailed shapes in the next step. Repeat with the second disk.
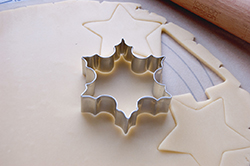
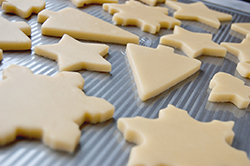
5. Cut out shapes from each chilled, rolled sheet of dough. Place the shapes, leaving space in between each cookie, on a baking sheet (lined with a silicone baking mat, or parchment paper, if desired), and chill in the refrigerator for 15-20 minutes before baking; this will minimize spreading in the initial baking phase and assist in retaining the detail of the shapes.
6. Combine scraps from the first cutting of both sheets and roll out again, chill, and cut additional shapes. Repeat until all the dough is prepared. (The less re-rolling of dough, the better it is for a tender cookie).
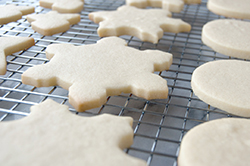
7. Preheat the oven to 350°F. Bake the chilled, cut-out shapes for 12-14 minutes or until a light fingertip press in the center of the cookie springs back. (For smaller cookies, bake for less time.) Don’t allow more than a hint of browning to occur.
8. Allow the cookies to set by cooling on the pan for 5 minutes, then transfer to a cooling rack for completion of the cooling. Cooling on a rack allows the cookies to crisp and resist excess moisture retention that might make them soggy.
9. Once completely cooled, the cookie shapes may be stacked and stored in an airtight container until time to decorate.
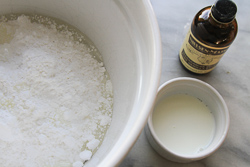
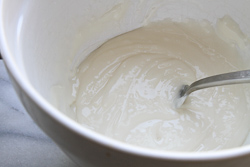
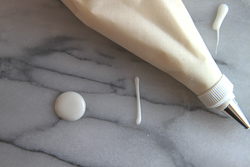
(See Icing Recipe below) |